Supporting tomorrow’s automotive industry
With the practices of industry 4.0 ever more in operation, and autonomous cars in full scale development, being able to inspect and measure components and subassemblies with absolute precision has never been more important. The ability to capture and store verifiably accurate data, and share it through the supply chain, is just as crucial. We can help.
Comprehensive measuring and reporting
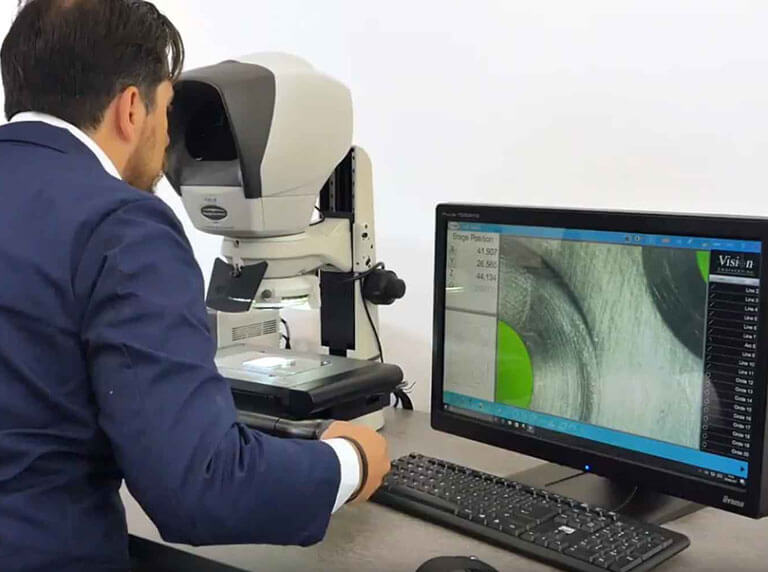
Vision Engineering’s metrology solutions make it easy to measure anything, from precision machined parts to plastic moldings and complex subassemblies with awkward shapes. Effortless data capture and reporting gives everyone confidence that what you have manufactured – or what you have bought – conforms to published specifications.
Accuracy starts here
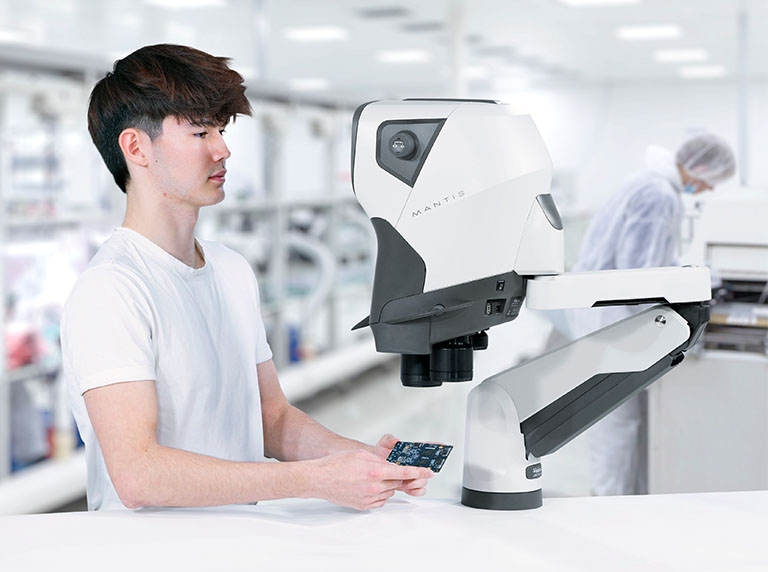
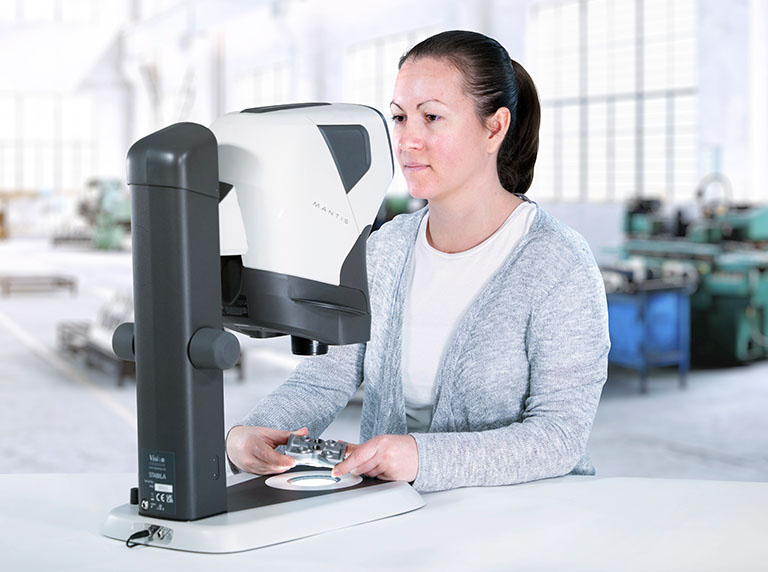
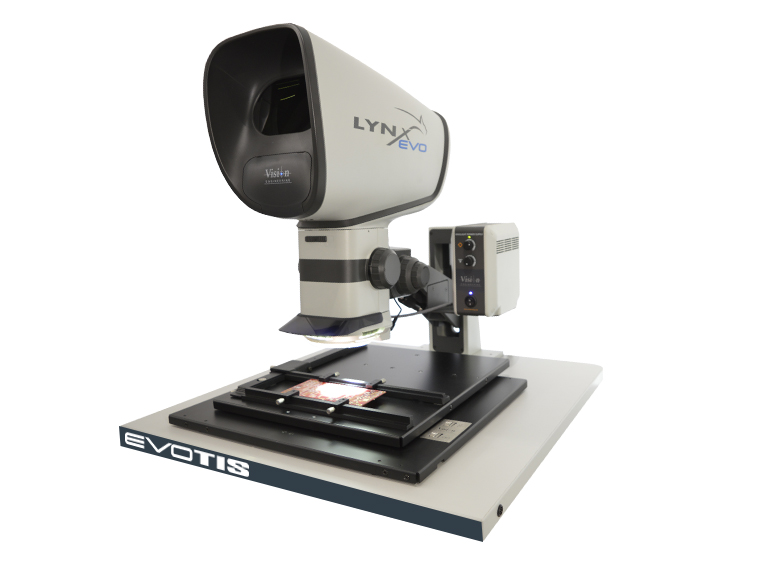
Some of the best known brands in the automotive industry rely on Vision Engineering’s microscopes and metrology systems for the early detection of faults in manufactured parts and components, directly and also to calibrate automatic inspection equipment. Products such as our award-winning, ergonomic Lynx EVO and Mantis eyepiece-less stereo microscopes give you an unrivaled 3D experience for fast, comfortable and accurate inspections, with powerful imaging and documentation capabilities.

Real time global collaboration
Our DRV-Z1 (Deep Reality Viewer) is the only digital stereo inspection system which creates high definition 3D images which float in front of your eyes without the need for special glasses or goggles. Your geographically distributed teams can now share designs and prototypes in stunning 3D, wherever they are, in real time and without ever leaving the office.
Error-free assembly under magnification
As soon as you magnify something, hand-eye coordination starts to become a problem and it can be awkward to manipulate or assemble the parts and subassemblies. Our eyepiece-less stereo microscope technology solves the problem, with enhanced depth perception and access to peripheral vision, making it easy for your eyes and hands to work together naturally, eliminating eye fatigue and reducing operator fatigue.

See more with UV illumination
Our EVO Cam II, Mantis and SX Elite ranges can be equipped with UV illumination to view special coatings and fluorescing dyes that penetrate fine cracks. It’s a trusted way to ensure that delicate components are uniformly coated and free of contamination. For lower magnifications, the Wave UV LED bench magnifiers can perform a similar function.
Materials testing and failure analysis.
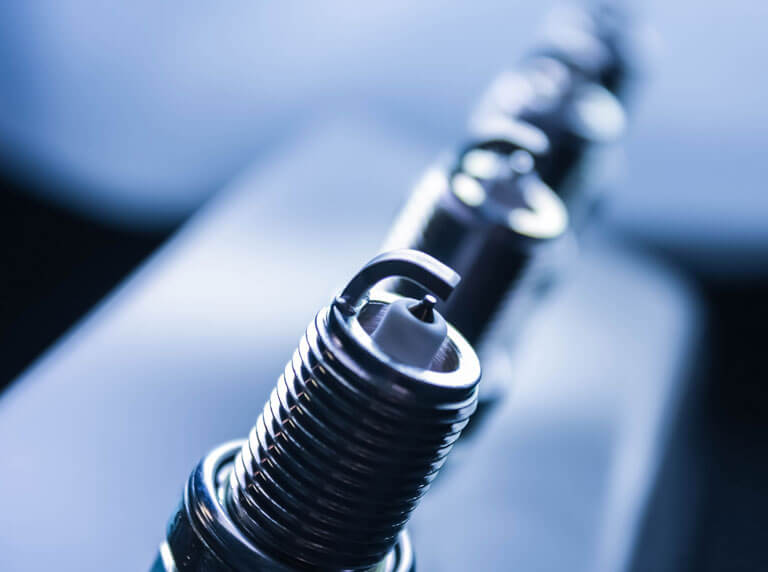
Our inspection and measuring systems are supported by a wide range of software, illuminators, optics, filters and other accessories. Now you can examine everything from crystal structures in spark plug cores, to the grain in metals, to the profile of welded joints and the self-healing properties of dashboard covers, testing and documenting parts to ISO and VDA standards.
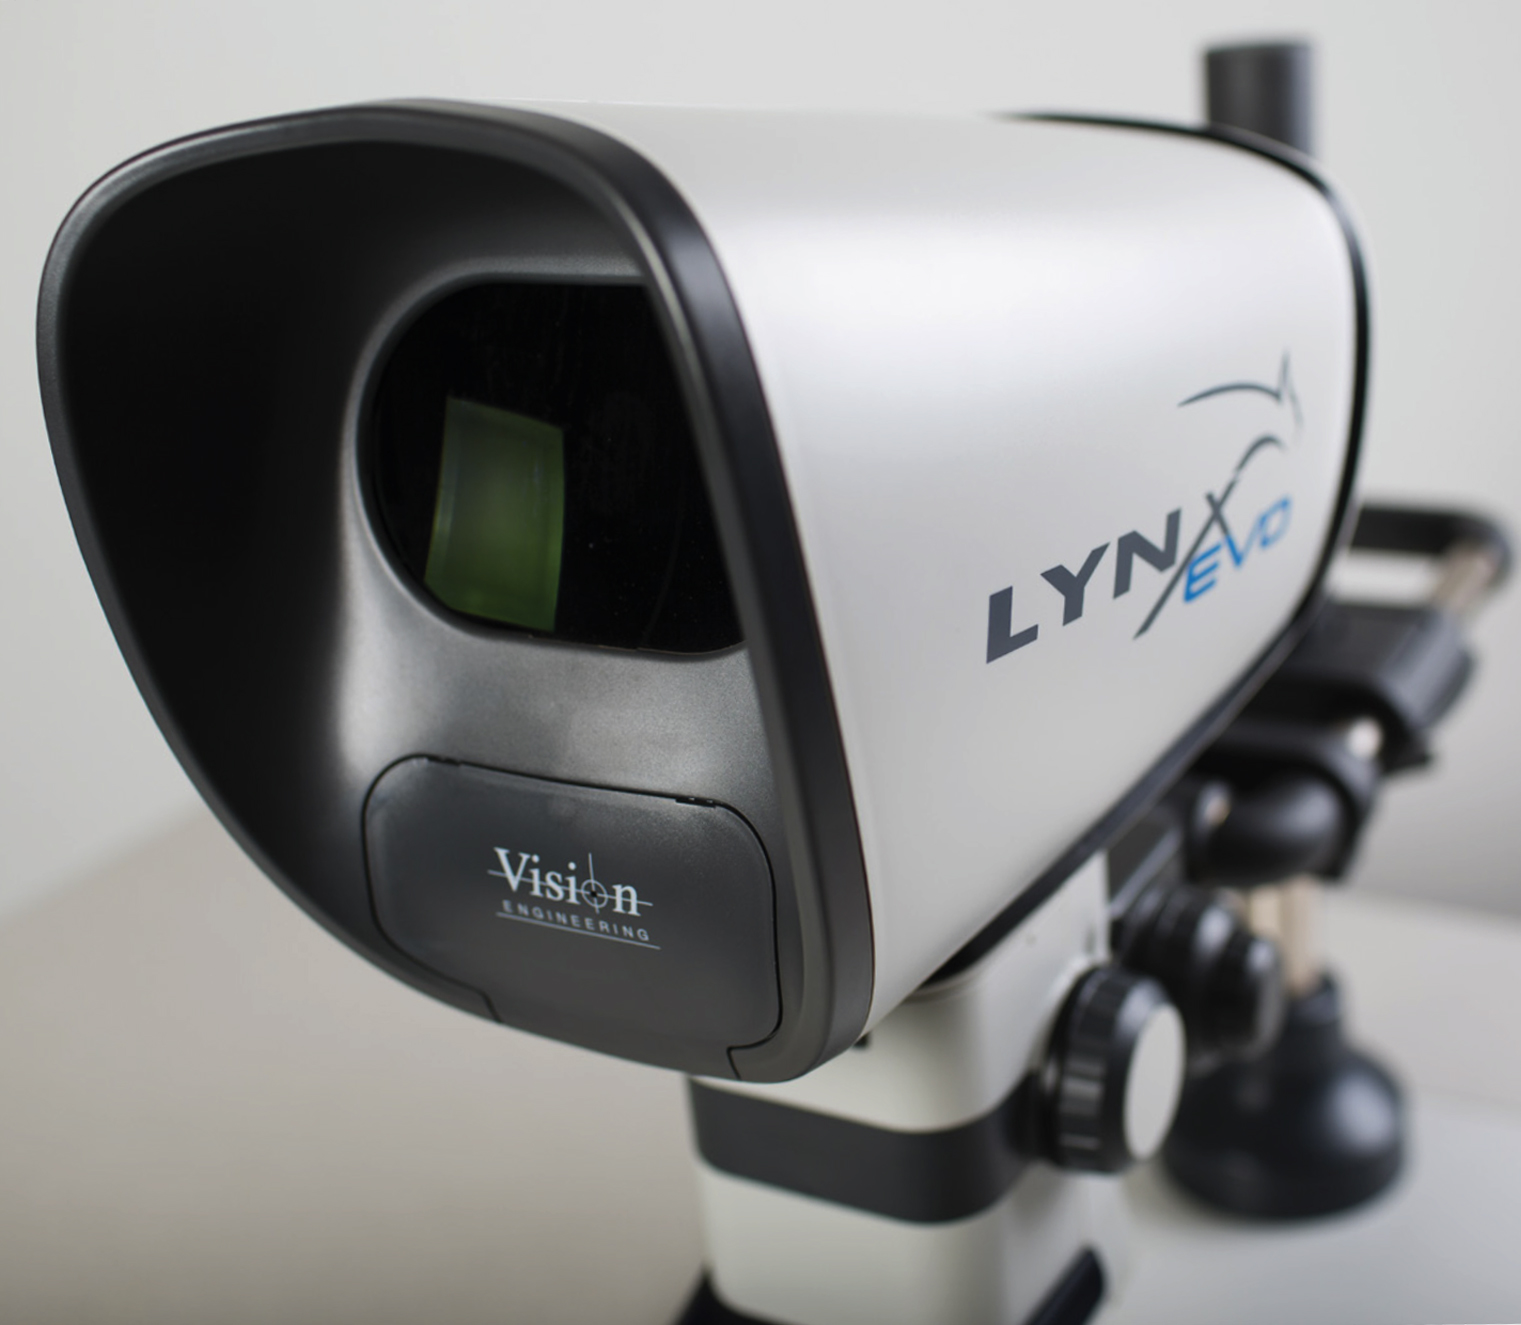
Lynx Evo
Work better, for longer, with this award winning ergonomic stereo microscope.
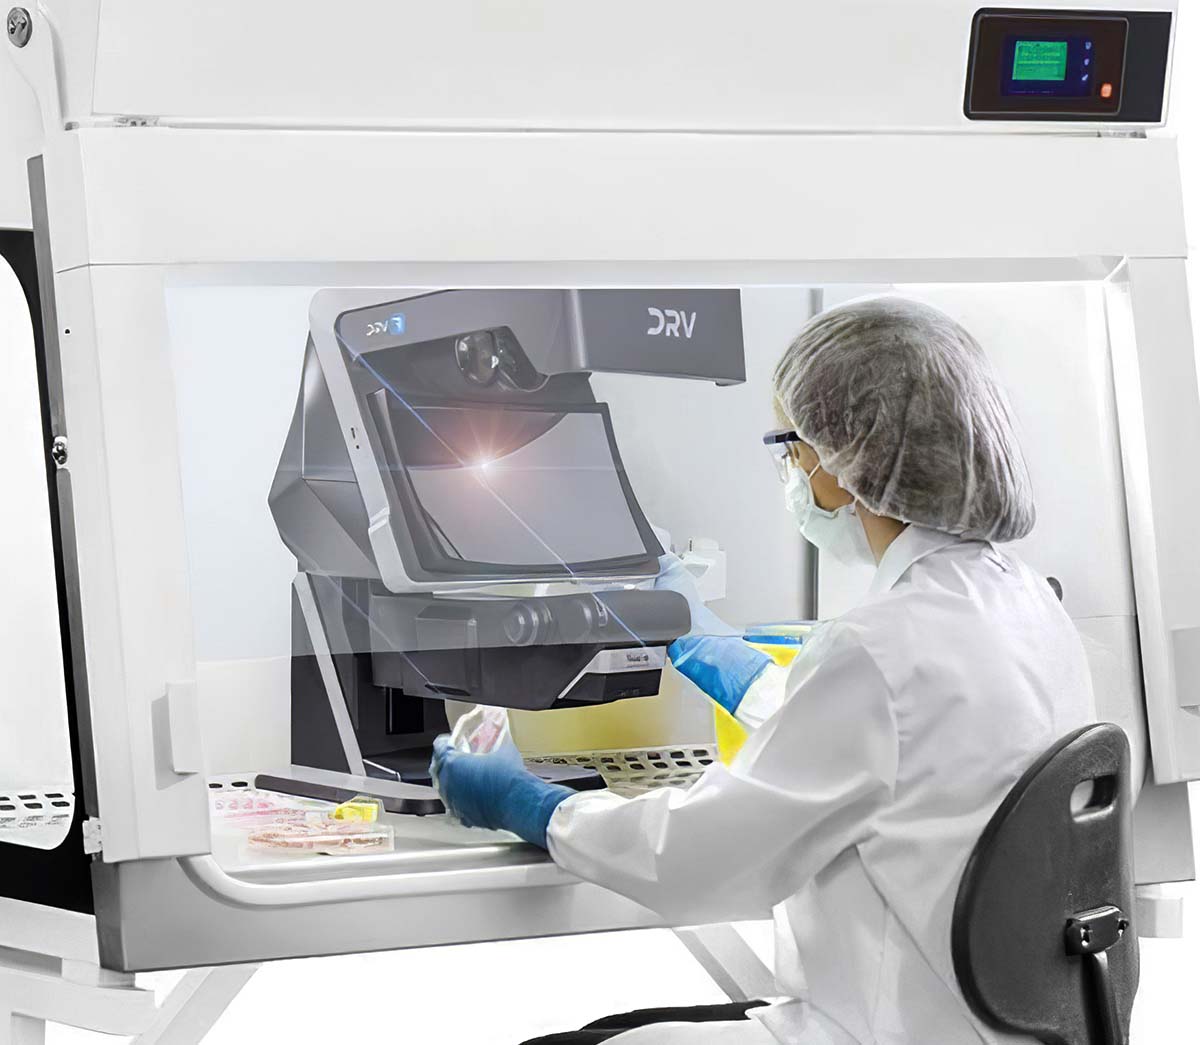
DRV-Z1
The incredible DRV-Z1 is the world’s first and only digital stereo inspection system.

