Quality control is an important element of any manufacturing process but when the products in question are components for use in Class III medical devices, this is more than important, it is critical.
Many medical device components are manufactured using medical grade plastics, as the material has excellent biocompatibility and is both lightweight and durable. In addition, production methods are time and cost efficient.
When creating a quality management protocol for these types of components there are particular issues that must be taken into consideration, not only around characteristics native to the materials but also because these parts can be intricate and are often very small. Documenting quality control is also an important part of the process in order to provide proof of compliance.
The quality management process is there to ensure your products meet your customer’s specifications as well as industry standards such as ISO13485, FDA regulations and your own quality benchmarks.
POINTS TO CONSIDER
Volume:
The volume of parts that need to be inspected is the first step to look at; this will vary according to whether batch inspections are sufficient or whether every single component needs to be checked. Components used in safety critical Class III components will generally call for 100% inspection routines.
In cases where a device has many components, each of these may need inspecting or measuring, increasing the workload of the inspection team. In such instances, the equipment used will influence the speed of the quality control process and therefore this needs to be taken into consideration when planning inspection protocols.
Component Characteristics:
When designing an inspection process for plastics, the protocol will need to include assessing the component for the effects of residual stress, warping, sink marks or short shots, as well as ensuring there are no residual fragments left behind from the moulding process. Often there is also the need to ensure the parts comply with colour and surface finish specifications.
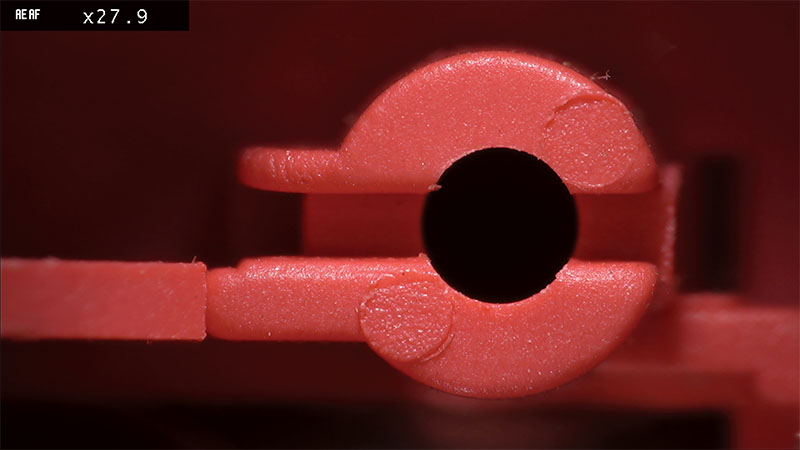
The miniature size of the components used in medical devices, together with the strict quality specifications will mean that microscopic inspection is an essential part of the quality control regimen. The design of the components being inspected will dictate the type of microscope required.
Visual Inspection Requirements:
Components will need to be inspected at agreed discrete levels of magnification to ensure that quality checks are verifiable and repeatable. For example, initial checks could be undertaken at 8x magnification. However, in instances where there are concerns and the part needs a closer look, 15x magnification could be specified to assess any fault. This avoids operators inspecting at slightly different magnification levels, such as 6x or 20x, possibly impacting compliance.
This means that a quality control protocol will include microscopes that offer a variable magnification range. The range of magnification detailed in the inspection procedure document will affect the choice of equipment. For example, if your determined magnification levels were 8x and 15x, Mantis with its range of 2x -20x would be an ideal choice, whereas a requirement for a greater magnification levels would be accommodated by the Lynx EVO which offers 2.7x – 240x magnification depending on the objective that is fitted.
Additionally, the ability to control depth of field and contrast will make the inspection process far easier, especially when the colour or transparency of a part make it difficult for operators to gain a clear view of edges. This means that any microscope should provide iris control within the zoom unit. Inspection of parts with hard to view edges or features is also helped by the use of an optical system.
A digital inspection microscope with a focus stacking feature will layer multiple images, each focused at a slightly different position, providing an image with excellent depth of focus, ensuring intricate details are easily viewed. The EVO Cam II offers both the focus stacking option of a digital system; together will all the benefits of high quality optical viewing.
Your visual inspection protocol may also need to include processes for quality assessments of cylindrical or multi-faceted shapes. In such cases, specifying the use of a microscope, which offers a 3D view of the component, together with a 360° rotating viewer option, would allow a part to be accurately assessed from all angles. The 360° viewer is great for looking around a raised feature or the inside edge of a sunken feature. This is especially good as the point of connection between surfaces is viewed so that both sides of the surface can be seen. In direct down views a vertical surface can’t be seen so the view of the intersection is not as good. Lynx EVO and EVO Cam II both feature a 360° viewer.
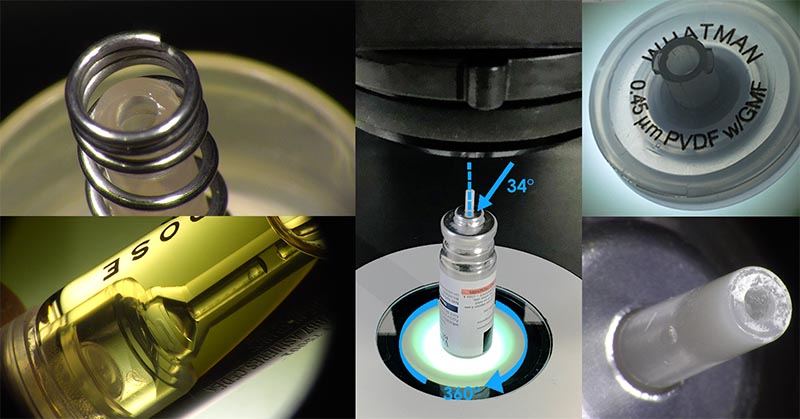
If you’re unsure which microscope to specify for your quality control procedures, request a demo so that you can use some of your own sample components to put your preferred options to the test.
Metrology Requirements:
Apart from visual inspection, there are many instances where components for medical devices will need to be measured in order to meet strict product specifications. The quality control management process will need to list appropriate measurement routines, together with the degree of accuracy specified by the design team or customer.
The degree of measurement accuracy required can range from basic comparison against a reticule through to extremely stringent tolerances, with compliance being measured in microns.
Efficiency and accuracy are both important considerations in any quality control process and achieving the right balance between the two can be challenging. In the case of medical devices, it is critical that accuracy is maintained.
Video measurement is fast and accurate, ensuring an efficient process where edges are obvious. However, in the case of plastics, edges or intricate details can be difficult to detect, where this presents itself as an issue, the use of an optical measurement system will provide better accuracy.
When measuring a variety of components the obvious choice is to utilise a system which combines both optical and digital measuring option. The Swift PRO Duo offers the ability to switch effortlessly between views allowing operators to achieve both accuracy and efficiency.
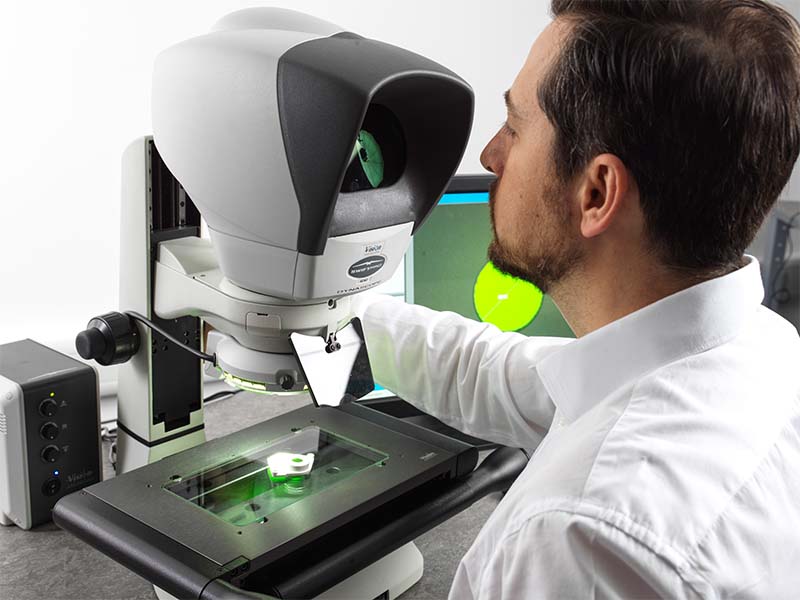
When creating any quality control protocol with measurement specifications, Quality Managers will also consider measurement range in order to assess whether a 2 or 3-axis measurement system is the appropriate choice.
In cases where only the x and y axis of a component need to be measured a 2D measurement system will be specified as part of the quality control guidelines. In such instances a rapid measurement system such as the TVM is a good choice, as it allows several pieces to be placed within the Field of View where they can be measured accurately within seconds.
Where large volumes of clear or black plastic components need to be measured across x, y and z axes, introducing a measurement system that allows operators to switch between non-contact and probe measurement will greatly improve the speed of checks without affecting accuracy. The LVC Series with its 3D touch probe option allow operators to include both non-contact and contact measurement in a single automated measurement routine. The routine measures easily defined features via the digital camera, whilst concealed or poorly defined features are measured with a touch probe.
Documentation Requirements:
The level of detail required for quality assurance documentation will be dictated by customer requirements and industry standards. The quality management process may only require a record be kept showing that the component was inspected and passed the required checks. In other instances, a visual record will need to be stored alongside any written records, meaning that image capture becomes a part of the inspection regime. Whatever the extent of the documentation required, when creating your quality assurance it is important to assess whether your specified systems are able to capture and record relevant information quickly and easily.
All in all there is a lot to consider when creating a quality management protocol, particularly where compliance is so critical. To ensure that you select the right inspection equipment for delivering safe and compliant products, contact the team at Vision Engineering, we’re here to help.
