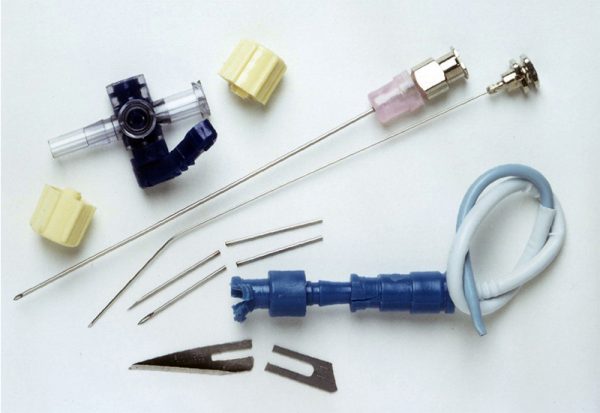
Ensuring that components used in medical devices are fit for purpose and comply with strict industry regulations means quality control is a critical step in the manufacturing process. To deliver a high standard of quality control the correct equipment must be used to make these checks. This not only safeguards operator accuracy, but also allows quick, efficient checking.
In this article we look at the key points to consider when selecting equipment.
Equipment Practicality
The first thing to consider when selecting equipment for microscopic quality control is the type of work that the operator will be required to undertake. As a starting point you need to consider if you will need to undertake non-contact measurements or whether you will be looking for surface defects.
When undertaking non-contact measurement the ability to use a digital overlay is extremely helpful when working with complex precision moulded pieces or irregular shapes. In this instance it is simple and quick to place the component under the microscope and view the image of the component on a digital screen. You can then import a CAD drawing and use this as a digital overlay to ascertain whether the component fits within tolerance parameters. This process is ideal when working with medical implants.
Simpler more geometric shapes, such as diameters, distances, angles etc. can easily be measured using measurement software, providing that there is enough contrast under the microscope for the edges to be digitally detected.

In some cases, such as when the part is made of clear or white plastic, digital edge detection will be problematic. In this instance the higher resolution of an optical view may be required. An example of this would be when measuring the internal and external dimensions of tubing used in IV sets or the diameter of syringes.
In some situations there may be a need to conduct both non-contact measurement and surface checks. In such a situation a dual digital and optical microscope is the ideal choice. A case in point is quality control checks on stents. There is a requirement to measure strut thickness and radii down to µm level, together with the overall stent dimensions. The stent then needs to be inspected for burrs and the overall quality of the surface finish.
Finally, practicality considerations are not only about functionality. With space being at a premium in any manufacturing area, equipment must be of a reasonable size, fitting on an average sized work bench.
Regulatory Compliance
In an industry where the failure of a device can have life-threatening consequences, a documentation procedure detailing evidence that all components are within tolerance levels is essential. However, the process should be streamlined to avoid delay in delivery time scales. Capturing of digital images for insertion into quality control documentation, together with the ability to mark-up measurements on these images is a definite advantage in this process.
And if for any reason there is a non-compliance issue, the marked-up image can quickly be shared with the production manager or supplier and the issue easily communicated for a quick resolution.
Of course, it goes without saying that any measuring equipment used should be calibrated to a relevant industry standard.
Operator Comfort
Last, but certainly not least, is the requirement for operator comfort. An ergonomically designed system will allow operators to work for longer periods of time without experiencing eyestrain or posture related discomfort. Optimal ergonomics will ensure excellent levels of productivity and accuracy, not to mention happy staff!
The Swift PRO Duo, with its digital measurement system and optical eyepiece-less technology is the perfect solution for the quality control of medical device components. Find out more about Swift PRO.


