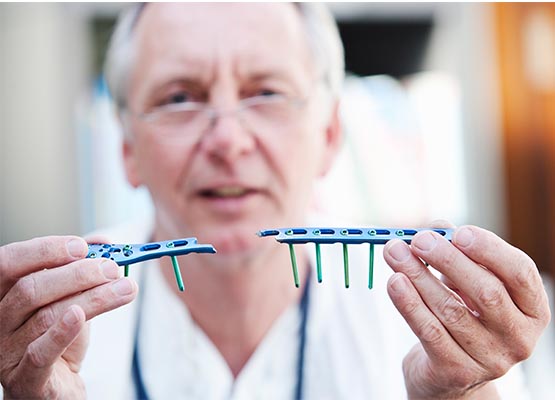
Taking a closer look at orthopaedic implants
Orthopaedic implants are used both to help repair bone fractures and as replacements for articulating surfaces of damaged joints. Bone screws are the most common way to secure the plates or implants to the surrounding bone and are generally made of medical grade metals whilst orthopaedic implants may be manufactured from metals or PEEK (polyether ether ketone).
In this application note, we only consider those made from metal such as titanium alloys or surgical grade stainless steel.
Quality control for implants
Rigorous quality standards are crucial when it comes to the manufacture of orthopaedic implants and bone screws, as badly finished products can cause internal damage and foster infection, which will have serious consequences for patient health. To ensure that the end product meets quality guidelines components will be inspected at a microscopic level. In the case of bone plates 100% inspection is required and all product must meet ISO13485 standards.
A general guide on how the implants are inspected
The manufacture of a bone implant involves both rough and finish milling using Swiss quality machines, together with shouldering, drilling and mill threading. An inspection microscope will be situated at each milling station, set to a fixed magnification range as specified in the quality control protocol.
As part of the milling process burrs may be formed, so immediately after an operator has manufactured the part it is inspected under a microscope. It is extremely important that the surface finish is scratch free and completely smooth, not only to avoid causing internal tears but also to aid later sterilisation of the part. Should any burrs or scratches be found the part will be hand polished and the then re-inspected again. This process is then repeated until the plate meets the quality specifications.

Bone screws are generally made from stainless steel or titanium. To achieve the best surface finish the thread on bone screws is machined by whirling, limiting chipping and the formation of burrs. The process is completed with a deburring pass through the mill. Following this screws will be batch inspected, to check that all burrs have been removed, leaving a pristine thread.
Dimensional accuracy is also an important factor when inspecting bone screws and as part of the quality control procedure the Outside Diameter (OD) will need to be measured. As most of the thread patterns for bone screws are unique and non-standard, dimensional data is challenging to gather. Most manufacturers use video machines with rotary functions to get the entire profile of the device. It is also possible to get a quick profile of the device using optical or digital comparators.
Some of our customers use the following products:
For Inspection
- Mantis Elite
- SX45 Elite
- Lynx EVO
Measurement
- Swift PRO


